Article: Lip Filler Injection Techniques Explained Simply
Lip Filler Injection Techniques Explained Simply
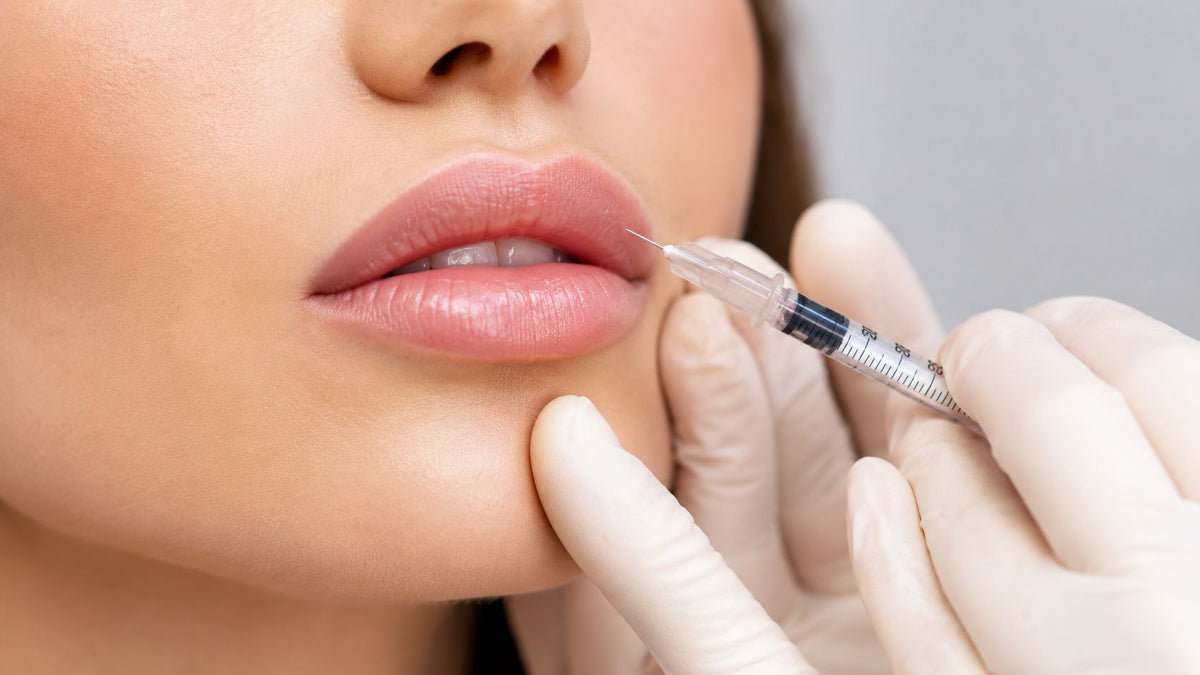
You're sitting in the treatment chair, hoping for fuller lips but wondering what your injector is doing with the syringe. You may have heard names such as Russian lips, Paris lips, or a “four-point” technique, yet those labels don't tell you the most important details: where the product goes, how deep it's placed, and how the injector is protecting your anatomy.
Lip filler injection techniques are clinical methods, not fashion trends. The best approach depends on your vermilion border, mucosa, tissue thickness, muscle movement, vascular anatomy, and the result you want to see when your face is resting and moving. A subtle contouring plan may suit one person, while another needs carefully distributed volume or correction of asymmetry.
What Lip Filler Injection Techniques Really Mean
A patient might ask for “natural fullness” and expect the injector to choose a named style from a menu. In practice, the injector is making a series of connected decisions about hyaluronic acid filler placement. The technique describes the route, depth, direction, and amount used to create a particular contour.
Think of the lip as a canvas and the filler as paint. A fine brush can sharpen the edge with a controlled stroke. A softer brush can blend color across a wider area. The same syringe can create a defined border, gentle eversion, central projection, or broad body volume depending on how the injector delivers it.
The three decisions behind the syringe
Every technique combines three practical questions:
- Where does the injector enter? The entry point may sit along the vermilion border, near the mouth corner, or in another carefully selected area.
- Which plane receives the filler? Superficial placement can refine definition, while a different layer may provide body volume or support.
- What pattern does the product follow? The injector may create a line, fan, pillar, microdroplet pattern, or localized bolus.
A 2025 ultrasound study illustrates this difference clearly. One protocol used a 25 G x 50 mm cannula with a single commissural entry point per hemilip, tracing retrograde vectors toward the commissure. The needle protocol used a 30 G x 13 mm needle, entering the vermilion border at about 4 mm depth, with 0.05 cc retrograde aliquots and two 0.1 cc boluses at the Cupid's bow apex. These are not interchangeable movements, even though both involve lip filler. The ultrasound comparison of cannula and needle approaches shows how the tool changes the delivery pattern.
Practical rule: A technique name can describe the look, but it can't replace an anatomical treatment plan.
An injector should assess your lips at rest, during smiling, and while speaking. Your desired size matters, but so do your existing border, projection, symmetry, tissue quality, and muscle activity. The quietest-looking treatment often reflects the most careful planning because it adds only what your anatomy can support.
The Anatomy Behind Every Technique
Good lip filler starts with mapping, not injecting. The vermilion border is the visible frame where the skin transitions into the colored lip. It gives the mouth definition, and superficial placement in this region can sharpen an indistinct outline without necessarily creating broad fullness.
The dry vermilion is the exposed red portion of the lip. The wet mucosa turns inward and contacts the opposing lip. The lip body sits between these visible surfaces, while the philtral columns rise above the upper lip and help form the Cupid's bow. The orbicularis oris muscle encircles the mouth and controls movement, so filler must support the shape without interfering with natural expression.

Think in layers
The lips are like a layered cushion. The outer fabric creates the visible edge, the middle provides softness and volume, and the deeper structure influences projection and movement. An injector may use a superficial plane for border definition, a mid-depth plane for body volume, or a deeper plane for selected structural support.
Those layers aren't merely aesthetic choices. The superior and inferior labial arteries can run within the submucosal region, and deep or poorly directed injections can injure arterial branches. A technique-specific review divides the main targets into the vermilion border on the skin side and the mucosal side, recommending that the border be defined first before submucosal volume is added when appropriate. The clinical review of lip augmentation planes and targets explains why depth selection is a core safety decision.
The injector also has to account for the philtral columns, Cupid's bow, tubercles, commissures, and the relationship between the upper and lower lip. A person seeking a sharper Cupid's bow needs a different pattern from someone seeking hydration and soft body fullness. Someone with a thin, tightly rolled upper lip may need staged, superficial refinement rather than a dense product placed in one session.
Patients who want a makeup-based way to reinforce definition can also explore this guide to fuller lips with lip liner. Cosmetic contouring can enhance the border visually, while filler changes the underlying contour and therefore requires anatomical planning.
Most Common Lip Filler Injection Techniques Compared
Named methods can help practitioners communicate, but they shouldn't become a substitute for assessment. Linear threading may suit a patient who needs an even border refinement, while microdroplets may give a thinner lip more control. Russian and Paris styles can create recognizable shapes, yet the same pattern may look elegant on one anatomy and strained on another.
A useful lip filler before and after guide can help patients evaluate changes over time, but photographs still need context. Lighting, facial expression, swelling, camera angle, and the starting anatomy all affect what you see.
Technique comparison
| Technique | Injection Pattern | Best For | Key Trade-off |
|---|---|---|---|
| Linear threading | A continuous retrograde line as the needle withdraws | Smooth border definition and controlled, subtle volume | Requires careful depth and pressure to avoid visible product |
| Fanning | Several lines radiate from one entry point | Broader body fullness with fewer punctures | Uneven distribution can create contour irregularities if overused |
| Microdroplet or tenting | Small deposits at selected points, often for lift or shape | Precise Cupid's bow work, eversion, and delicate correction | Requires patience and excellent control because small errors remain visible |
| Russian technique | Multiple vertical injections that emphasize vermilion height | A flatter, more heart-shaped appearance | Has been criticized for migration and unnatural results when aggressively performed |
| Paris technique | Localized vertical definition and structured central shaping | Subtle vertical definition and selected contour enhancement | Can increase migration risk when filler is repeatedly placed along the border |
| Four-point or pillar approach | Point-based structural support, often combined with fanning or vertical vectors | Thinner lips needing organized support and balance | More structure isn't automatically better, especially in mobile or delicate tissue |
Linear threading and fanning are often easier to adapt because the injector can distribute product gradually across a zone. Microdroplets or serial punctures can be useful when the goal is a small correction rather than broad enlargement. A protocol published in a peer-reviewed source uses 0.05 to 0.1 mL boluses per point, with 1 to 1.5 mL across both lips per session, and recommends staying no deeper than 2.5 mm through the vermilion border. The peer-reviewed lip injection protocol demonstrates why small aliquots and shallow placement matter.
Russian and Paris techniques aren't automatically unsafe, but trend-driven execution can encourage too much product at the border or too many vertical passes. A 2025 narrative review criticizes both styles for a higher risk of migration and unnatural results compared with more conservative, anatomy-led approaches. Product rheology, tissue thickness, muscle movement, and injection plane all influence the outcome. For an overview of filler categories and how products differ, see types of dermal fillers.
The next decision is often whether the chosen pattern should be delivered with a sharp needle, a blunt cannula, or both.
Needle Versus Cannula and How Injectors Choose
A needle gives the injector a sharp, precise point. That makes it useful for crisp vermilion border definition, tiny deposits along the Cupid's bow, and localized corrections where a cannula may feel less exact. The trade-off is that every needle pass creates a puncture, and the injector must control depth and pressure carefully in a vessel-dense region.
A blunt cannula enters through a small access point and travels beneath the skin. It can distribute filler across a longer vector with fewer entry points and less disruption to surrounding tissue. Evidence reviews describe blunt cannulas as generally useful for broad, low-pressure distribution, with lower bruising and vascular-occlusion signals in vessel-dense areas, while needles remain valuable for precise structural placement. The evidence review comparing needles and cannulas supports using anatomy rather than marketing language to select the tool.
The choice in practice
| Factor | Needle | Cannula |
|---|---|---|
| Precision | Excellent for borders, peaks, and microdroplets | Strong for longer vectors and blended distribution |
| Entry points | Usually requires multiple punctures for separate zones | Can cover a broader area from fewer entry points |
| Tissue trauma | More puncture-related trauma | Often less disruption to surrounding tissue |
| Bruising | Can be more noticeable, especially with repeated passes | Often reduced, though bruising remains possible |
| Best role | Cupid's bow, vermilion definition, pinpoint correction | Body volume, gentle eversion, and broad distribution |
Many experienced injectors combine the tools. The needle may define the border, while the cannula adds body volume through a longer, controlled path. This blended approach is particularly useful when a patient wants definition without a hard outline or excessive projection.
The 2025 ultrasound protocol described earlier used a commissural cannula entry for longer retrograde vectors, while the needle allowed localized superficial shaping. That distinction captures the practical difference: cannulas distribute, while needles sculpt. Neither tool guarantees safety, and a blunt tip can still cause harm if the injector uses force, ignores anatomy, or places filler in the wrong plane.
Pain Management Downtime and Filler Products
Comfort planning starts before the first injection. A topical numbing cream can reduce the sting, and a dental block may be considered for someone who is particularly sensitive. Many modern hyaluronic acid fillers also contain lidocaine, which provides additional comfort as the product is delivered.
A dental block has a practical limitation. It can temporarily alter lip movement and make symmetry harder to judge during the appointment. That doesn't make it inappropriate, but the injector should understand how the anesthesia affects your smile and expression before final decisions are made.

What recovery usually feels like
Most patients experience swelling, tenderness, tightness, or mild bruising after treatment. A systematic review involving 3,965 patients found swelling, bruising, papules, redness, and itching were the main complications of hyaluronic acid lip filler, and they were generally mild. The systematic review of hyaluronic acid lip filler complications provides useful context for setting expectations.
Swelling often looks more dramatic at first than the settled result. A cooling pack, gentle handling, and the aftercare plan provided by your injector can help you manage the early phase. For a practical recovery timeline, patients can review lip filler recovery time.
Product texture should match the task
Injectors generally select softer hyaluronic acid gels for fine border work, mid-thickness products for body volume, and more structural gels when shape or support is the priority. The lips move constantly, so a product that is too firm for the tissue may feel uncomfortable or appear lumpy.
A conservative layering strategy usually gives the injector more control than placing a dense amount at once. The technique-specific review notes that clinicians typically use 0.5 to 1 mL per lip, with a practical upper limit of 1.5 mL per lip even when a larger volume is desired. The review discussing lip filler volumes and planes reinforces why volume should be treated as a clinical variable, not a target to reach.
Your injector should explain the product name, texture, intended plane, and reason for choosing it. The right filler is not just the one that creates the most immediate size. It should integrate with your tissue and preserve movement.
Complications and How Safer Technique Choices Prevent Them
A natural-looking result isn't only about avoiding an obvious “duck lip.” The injector must also prevent vascular occlusion, manage asymmetry, reduce the chance of nodules, and recognize swelling that doesn't follow the expected course.
Severe complications are uncommon, but the consequences can be serious. A large report of cosmetic injection injury recorded 1,748 incidents from 2014 to 2016, with 30% linked to lip injections, while only about 50 blindness cases have been reported globally after aesthetic facial injection. The complication review and injury data explain why anatomical knowledge and emergency preparedness matter even during a routine appointment.

What safer technique looks like
The injector should assess the superior and inferior labial arteries, choose an appropriate plane, use controlled pressure, and deposit small aliquots slowly. The review of lip planes warns that injections placed beneath the muscle or within the mucosa can injure arterial branches, causing severe bleeding and related complications.
Migration deserves particular attention. Repeatedly building the border above the vermilion, using excessive volume, or choosing a high-risk pattern for the person's anatomy can leave product in the cutaneous lip. Russian and Paris styles have both been criticized for migration and unnatural results when the technique emphasizes dramatic border-building rather than tissue capacity.
The better question isn't “Which trend do you use?” It's “Which plane, product, and volume suit my anatomy?”
Nodules, lumps, redness, itching, papules, and bruising can occur even when the procedure is performed competently. A review of 53 cases reported 82 complications, with nodule formation the most common event across filler types. That finding doesn't mean every nodule reflects poor technique, but it does show why product choice, placement, follow-up, and a clear plan for managing complications all matter.
A cautious injector will also stop before the lips lose their natural movement. Subtle volume may look less dramatic immediately, but it generally leaves more room for future refinement than repeated overfilling.
Choosing a Qualified Injector and Supporting Results at Home
Start with the clinician, not the discount or the trend name. Ask who will inject you, what medical and aesthetic training they hold, which product they plan to use, and how they assess your lips in motion. A sterile clinical setting and a documented emergency plan for vascular compromise should be basic expectations.
A practical vetting checklist
- Verified training: Confirm board-certified or appropriately licensed medical training in aesthetic injection practice.
- Comparable results: Review before-and-after photographs of patients with similar lip thickness, asymmetry, and goals.
- Specific explanations: A qualified injector should explain the selected technique, plane, product texture, and expected limitations.
- Risk assessment: The consultation should cover medical history, previous filler, allergies, active skin conditions, and vascular risk.
- Follow-up access: You should know who to contact if swelling, pain, discoloration, lumps, or asymmetry concerns you after treatment.
A consultation should never feel like a sales appointment. Rock-bottom pricing, pressure to add more product, no examination, and promises of an identical trend look for every patient are meaningful warning signs. If you're comparing local services, a resource about lip filler Wakefield can help you think about the questions to ask any provider, regardless of location.

Supporting skin quality between appointments
An LED Facial Mask can support an at-home skincare routine, but it can't correct misplaced filler or replace clinical aftercare. The Barb N.P. Facial Mask is a wireless device designed for comfort on the face, with three lighting settings intended for different treatment routines. Used according to its directions, an LED device may complement efforts to support skin quality and calm the appearance of post-treatment irritation.
BotoxBarb offers lip filler services, other aesthetic injectables, LED light therapy, and skincare products through its practice and online boutique. Sun protection, hydration, and a consistent routine also help maintain the surrounding skin, which contributes to how balanced your lips look after treatment. For preparation guidance, review what to do before getting lip fillers.
Frequently Asked Questions About Lip Filler Techniques
Can my injector create the exact size and shape I request?
Not always. Your lip height, border, tissue thickness, muscle movement, dental support, and existing asymmetry set limits. A skilled injector can refine your proportions, but no technique can make every anatomy safely hold the same result.
Can hyaluronic acid filler be dissolved?
Yes, hyaluronic acid filler can be treated with an enzyme used to break it down. Dissolving isn't a casual reset, however. It can involve swelling, uneven resolution, uncertainty about how much product remains, and the need for reassessment before another treatment.
How often will I need touch-ups?
The timing varies with the product, placement, tissue movement, and your individual metabolism. Your injector should reassess the settled shape rather than automatically adding more filler on a fixed schedule.
Does today's technique affect future treatments?
It can. Overfilling the border or allowing product to migrate may narrow future options, while tissue changes can require a different plane, tool, or product later. Technique should evolve with your anatomy and goals instead of repeating a trend by habit.
Choose an injector who can explain those limitations clearly before treatment and provide a realistic, anatomy-led plan.
BotoxBarb provides lip filler consultations and injectable services alongside LED light therapy and curated medical-grade skincare. Visit BotoxBarb to review the available options and arrange a consultation focused on technique, product choice, and proportion.