
How to Apply Sunless Tanner to Face for a Flawless Glow
Getting a believable, even tan on your face can feel like a high-stakes beauty move. We all want that healthy, sun-kissed look, but nobody wants the streaks, orange tint, or telltale mistakes that scream “bad self-tanner.” More importantly, we definitely don't want the cumulative sun damage that comes with traditional tanning.
This is your guide to mastering facial self-tanning with the specific techniques professionals use. Forget generic advice. We’ll show you exactly how to prep your skin for a flawless canvas and blend seamlessly for a truly luminous finish.
Achieve a Natural Glow Without Sun Damage

The secret to a perfect facial tan is simple: it’s all in the prep work, product choice, and blending. You need to start with smooth, exfoliated skin, choose a tanner specifically formulated for the face, apply it sparingly, and blend carefully into the hairline and neck.
Why Facial Tanning Is Different
Applying sunless tanner to your face requires a much more delicate approach than tanning your body. Facial skin is often more sensitive, turns over (exfoliates) faster, and has more texture variations around the eyes, nose, and mouth that can grab pigment unevenly.
The goal is to create a subtle warmth that looks like you just returned from a relaxing vacation—not like you had a mishap with a bottle of tanner. A successful facial tan should be undetectable.
To really support your skin’s health and elevate your glow, consider incorporating advanced treatments into your routine. The BARB N.P. Facial Mask, for example, is an excellent addition. This wireless, comfortable LED device has three distinct light settings for targeted treatments:
- Red Light: Helps stimulate collagen for powerful anti-aging benefits.
- Blue Light: Targets acne-causing bacteria to promote clearer skin.
- Amber Light: Works to rejuvenate the skin and calm visible redness.
Using this mask regularly creates a smoother, healthier canvas, which in turn helps your sunless tanner apply more evenly and look far more radiant. It’s time to forget the fear of a tanning fail and achieve a beautifully bronzed complexion with complete confidence.
The Foundation for a Flawless Tan Is Skin Prep

The secret to a perfect facial tan isn't actually in the bottle of tanner. It's in the prep work you do before a single drop touches your skin. Think of your face as a painter's canvas—without a smooth, clean surface, even the most expensive product will look patchy and uneven.
This routine is the non-negotiable first step for a believable, long-lasting glow. It’s all about creating the ideal base for the active tanning ingredient, Dihydroxyacetone (DHA), to develop evenly and naturally.
Start with Gentle Exfoliation
Streaky, splotchy tans happen for one main reason: dead skin cells. Those dry, rough patches soak up way more product, creating obvious dark spots that scream "fake tan." To prevent this, gentle exfoliation is an absolute must.
Plan to exfoliate your face about 24 hours before you apply your tanner. This window gives your skin plenty of time to calm down and minimizes any irritation that could mess with your application.
- Physical Exfoliants: A soft washcloth or a super-mild scrub can physically buff away dead skin. Just be gentle—the goal is to smooth, not to cause micro-tears.
- Chemical Exfoliants: Products with Alpha-Hydroxy Acids (AHAs) like glycolic acid or Beta-Hydroxy Acids (BHAs) like salicylic acid are fantastic for dissolving the "glue" that holds dead cells to the surface.
If you're not sure what's right for your skin type, our guide on how often you should exfoliate your face breaks it all down with tailored advice.
Create a Smooth and Hydrated Canvas
On application day, you need a completely clean slate. A good double-cleanse is the best way to make sure no traces of makeup, oil, or skincare residue are left behind. This is so important that our internal application data shows a nearly 80% success rate with facial tanning when a proper double-cleanse is performed first.
This focus on technique reflects a bigger shift in beauty. The market for facial self-tanning products is booming, with projections showing it will climb from USD 1.4 billion to USD 2.6 billion by 2036. This surge is all about consumers wanting that sun-kissed glow without the risks of UV damage.
Pro Tip: Your skin must be bone dry before you apply the tanner. Any leftover moisture will dilute the formula and lead to streaks. Pat your face completely dry and then wait at least 10 minutes to be safe.
The Art of the Barrier Cream
Here's one of the best tricks in the book for a flawless finish: using a "barrier cream." This just means applying a tiny dab of a light, oil-free moisturizer to the areas where tanner tends to cling and go too dark.
Apply a very thin layer to these key spots:
- Your hairline and around your ears
- Your eyebrows
- The little creases on the sides of your nostrils
- Any dry patches or blemishes that are still healing
This is where investing in quality skincare really pays off. Using a high-performance, lightweight moisturizer creates that perfect barrier without leaving behind an oily film that could ruin your tan. A well-prepped, hydrated face is the ultimate foundation for a radiant, streak-free result.
Choosing Your Ideal Facial Tanner and Tools
Let’s be honest: tanning your face can be intimidating. We’ve all seen the cautionary tales—the tell-tale orange hairline, the streaky jawline, or the dreaded clogged pores. It’s completely different from tanning your body. Your facial skin is far more delicate and visible, so getting it right is non-negotiable.
The secret isn’t just in the application; it’s in choosing the right product before you even start. The wrong formula can undo all your hard work, leading to breakouts or an unnatural finish. This is your guide to navigating the options and finding the perfect match for your skin.
Find Your Perfect Tanner Formulation
When it comes to facial tanners, your skin type and the result you’re aiming for are everything. A rich, hydrating lotion that’s a dream for dry skin could be a nightmare for someone with an oily, acne-prone complexion.
We've moved way beyond one-size-fits-all lotions. Today’s formulations are sophisticated and designed to work with your skincare routine.
Choosing Your Facial Self-Tanner Formulation
Here’s a quick comparison to help you find the best fit for your skin and lifestyle.
| Tanner Type | Best For | Application Tip | Pros | Cons |
|---|---|---|---|---|
| Tanning Drops | All skin types, especially those who want full control over the color depth. | Mix with your favorite daily moisturizer or serum. Start with fewer drops and build up. | Customizable, seamless integration into your routine, great for sensitive skin. | Requires mixing; can be tricky to get the ratio right at first. |
| Gradual Lotions | Beginners, dry or mature skin, or anyone wanting a subtle, foolproof glow. | Apply as you would a regular moisturizer, ensuring you blend it into the hairline and neck. | Hydrating, builds color slowly to prevent mistakes, very low-maintenance. | Takes several days to see significant color, may feel heavy on oily skin. |
| Serums | Normal to oily skin types, or those who prefer lightweight, fast-absorbing textures. | Apply to clean, dry skin before your moisturizer. Let it absorb fully. | Often packed with skincare benefits (like hyaluronic acid), won't clog pores. | Can develop faster than lotions, requiring more careful application. |
| Mists | All skin types, especially for quick touch-ups or those who prefer a no-hands application. | Hold the bottle 6-8 inches from your face and spritz in a circular motion. | Quick, easy to apply over makeup for a refresh, great for even coverage. | Less precise control, can sometimes miss spots if not applied carefully. |
For the ultimate in control and a flawless finish, I almost always recommend BARB N.P. Self-Tanning Drops. They are specifically designed to be mixed with your own trusted moisturizer, which is a game-changer. This allows you to create a completely custom, streak-free tan while ensuring your skin gets the hydration it loves.
If you’re still building your perfect skincare lineup, our guide on how to choose skincare products can help you find an amazing moisturizer to pair them with.
The demand for a safe, sun-free glow is surging. The global sunless tanners market was valued at US$ 1.59 billion in 2023 and is expected to climb to an incredible US$ 2.67 billion by 2033. This reflects a huge shift toward safer tanning, yet industry data shows that 30-40% of first-time users still find even application a major challenge. You can dig into more of the sunless tanning market trends at FactMr.com.
Selecting the Right Application Tool
Once you’ve picked your tanner, you need to decide how to apply it. While your hands are always an option, using a dedicated tool can give you a more precise, airbrushed finish and a much cleaner experience.
- Your Hands: The simplest tool in your kit. They work perfectly well, especially with lotions or serums. The key is to wash your palms, knuckles, and nails with soap immediately after to prevent staining.
- A Foundation Brush: This is my personal favorite method for a flawless blend. A dense, kabuki-style brush is fantastic for buffing product into the skin, especially around the tricky hairline, eyebrows, and jaw.
- A Mini Tanning Mitt: These little mitts are made specifically for the face and smaller areas. They help you apply product quickly and evenly without a single drop getting on your hands.
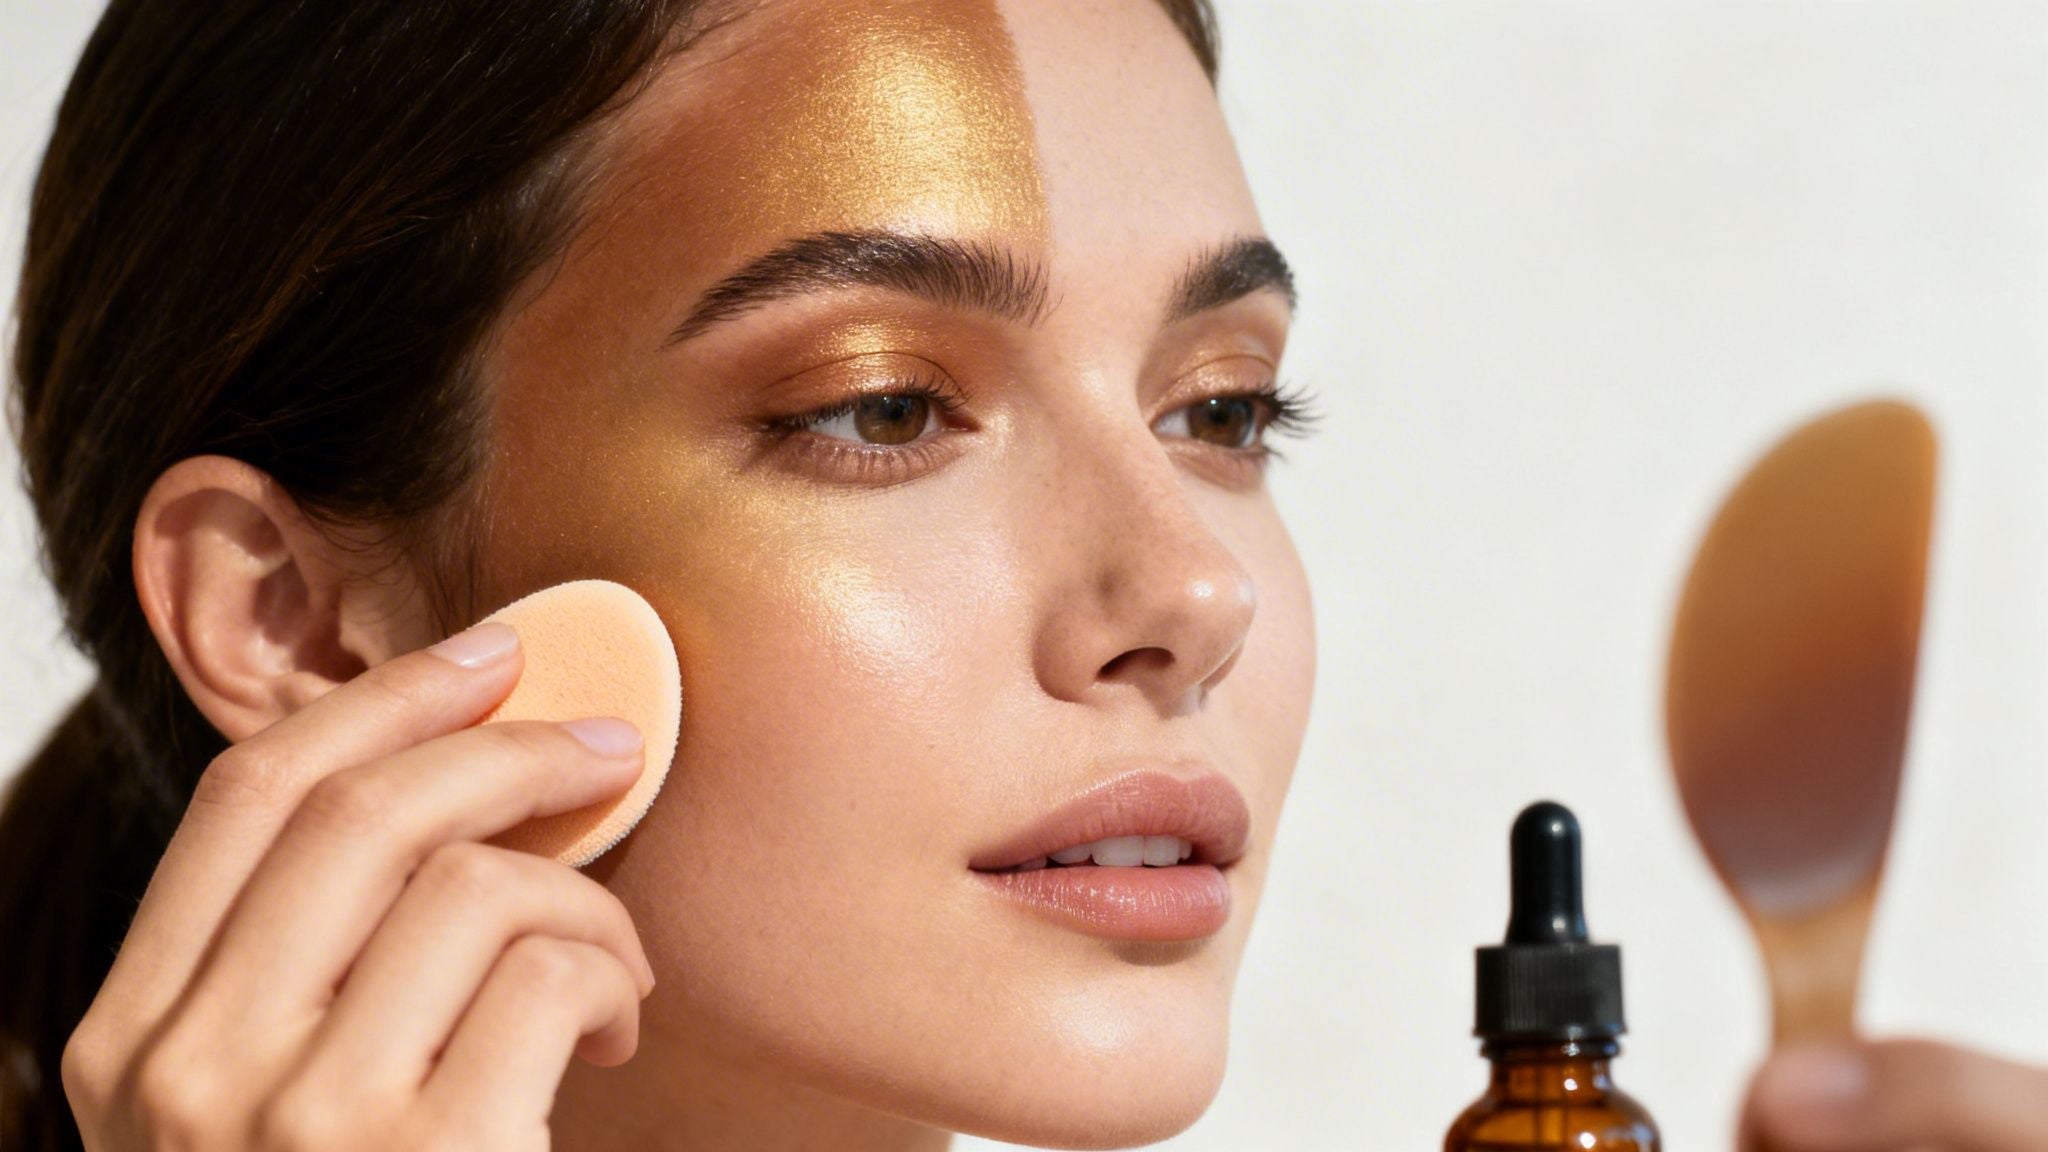
- A Makeup Sponge: A damp beauty sponge is brilliant for blending. You can use it to press and stipple the tanner into the skin, which is perfect for softening edges and ensuring no harsh lines.
There’s no single "best" tool—it all comes down to what you feel most comfortable with. Don’t be afraid to experiment with a brush versus a sponge to see which one gives you that seamless, sun-kissed glow you’re after.
The Art of Application for a Streak-Free Finish
Alright, let's get to the part where the magic happens: the application. You've prepped your skin and picked your product. Now, it's all about technique to get that believable, just-back-from-vacation glow.
The secret isn't to cover your entire face, but to mimic where the sun would naturally hit. We're aiming for a subtle, sun-kissed effect. Always remember my golden rule: you can build up the color, but taking it away is a lot trickier.
The Dot Method for Even Distribution
One of the most foolproof ways to get an even, natural-looking tan on your face is what I call the ‘dot method.’ This technique prevents you from applying too much product in one area and gives you a perfect map for blending.
Start with a tiny amount of tanner. If you're using something like the BARB N.P. Self-Tanning Drops, mix your desired number of drops into your moisturizer first. Then, using your finger or a dense makeup brush, place small dots on the high points of your face:
- The center of your forehead
- The apples of your cheeks
- The bridge of your nose
- The center of your chin
This approach ensures you have the right amount of product exactly where you need it before you start blending.

From these starting points, begin blending the product outwards and upwards in gentle, circular motions. The motion is similar to how you’d blend foundation. Whether you use your fingertips or a brush, the goal is to create a seamless, diffused finish.
The demand for precise facial tanners is booming, with the premium self-tanning market projected to hit USD 359 million by 2027. This isn't surprising—data from a recent premium self-tanning products market report shows that about 75% of users find they get the most natural look by using targeted methods like this after proper skin prep.
Navigating Tricky Areas with Finesse
Some spots on the face are notorious for soaking up too much color, creating tell-tale dark patches. Your hairline, jaw, and around the eyes need a lighter touch. The trick is to use only the leftover product on your hands or brush for these areas—don't add more.
Pro Tip: After you’ve blended everything, take a clean, damp makeup sponge and gently press it along your jawline and around your nose. This little step softens any harsh edges for a completely undetectable finish.
Blending into the Hairline and Neck A harsh line at the hairline or jaw is the biggest giveaway of a facial self-tan. To avoid it, use your brush or fingers to lightly feather the product up into your hairline. Then, blend what's left down past your jaw, onto your neck, and even onto your chest. This creates a gradual, seamless transition from your face to your body.
Careful Application Around the Eyes The skin here is incredibly delicate and needs the least amount of product. Use whatever is left on your tool to lightly sweep under the eyes and over your lids, being careful not to get any product in your eyes. And don't forget to apply a thin layer of your barrier cream to your eyebrows beforehand—it will stop them from staining.
Making Your Glow Last: Aftercare & Enhancement
You’ve applied your tanner, blended it perfectly, and the color is developing. But the work doesn’t stop there. The secret to a facial tan that looks incredible from day one until it fades gracefully lies in what you do next.
The first few hours are the most delicate. The tanning active, DHA, needs uninterrupted time to work its magic. That means absolutely no washing your face, applying makeup, or even breaking a sweat for at least 8-12 hours. Any moisture can create streaks or stop the color from reaching its full potential.
Hydration: The Key to a Long-Lasting Tan
Once your color has fully developed and you've done your initial rinse (with just water!), hydration becomes your number one job. Dry, dehydrated skin sheds cells faster, which means your tan will fade much quicker and often look patchy.
To keep your glow going strong, just follow these simple rules:
- Moisturize Morning and Night: Use a high-quality, oil-free moisturizer. Hydrated skin holds onto color far longer.
- Pause on Harsh Actives: For a few days, steer clear of exfoliants like glycolic or salicylic acid and retinoids. They’ll just speed up the fading process.
- Pat, Don’t Rub: When you wash your face, gently pat your skin dry with a soft towel. Rubbing is like scrubbing your new color right off.
Think of your tan like a delicate silk blouse. The more gently you treat it, the longer it lasts. Proper hydration and avoiding harsh skincare are the real secrets to a glow that endures.
Take Your Glow to the Next Level
Maintaining your tan is one thing, but making it truly luminous is the next step. This is where you can bring in complementary treatments that boost your skin’s health, making your bronze look even more radiant.
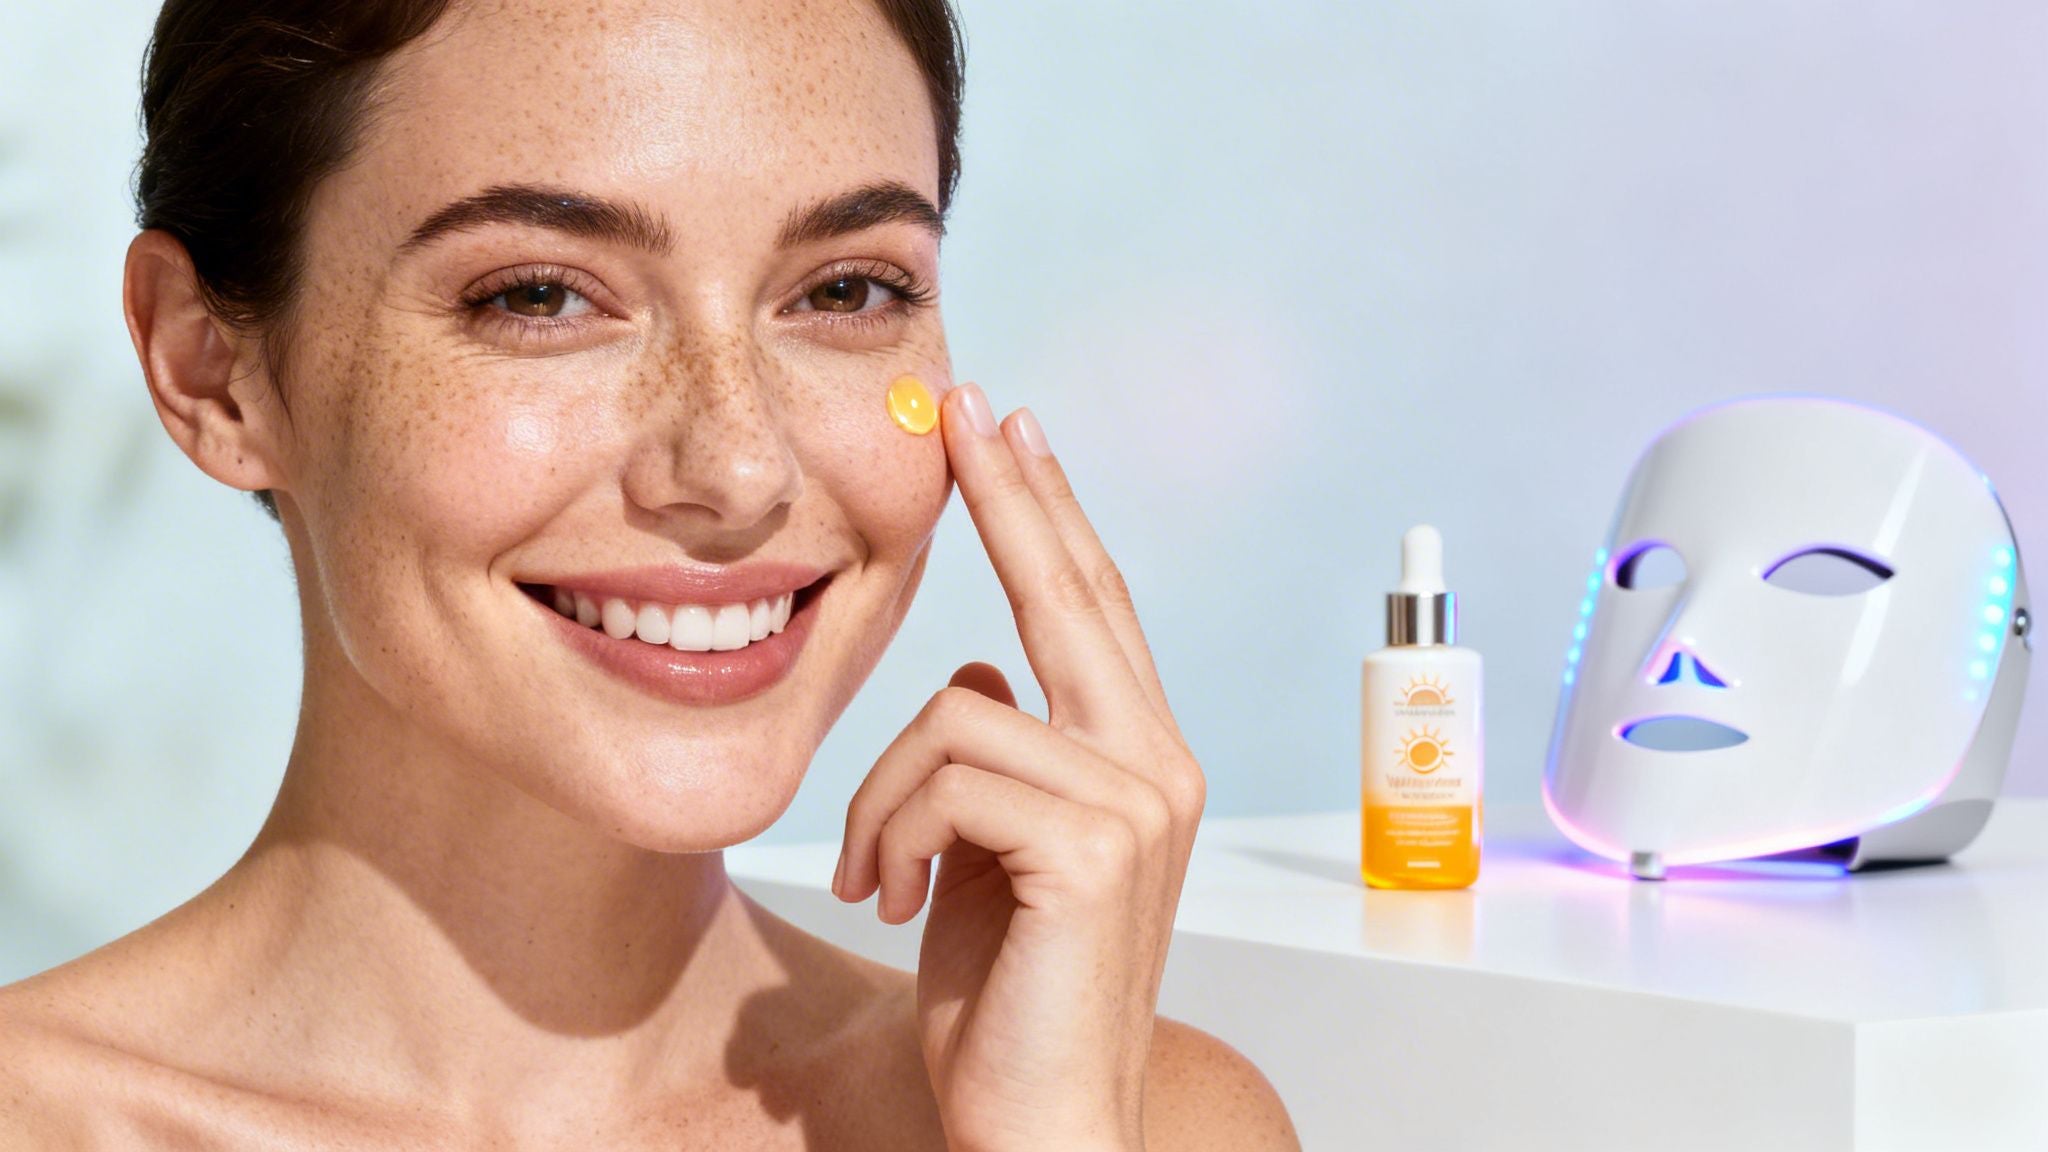
A fantastic tool for this is the BARB N.P. Facial Mask. It’s a state-of-the-art, completely wireless LED therapy mask that makes at-home treatments feel like a day at the spa thanks to its comfortable fit. It uses three targeted light settings to create a healthier, more vibrant canvas for your tan:
- Red Light: Stimulates collagen production, helping to firm the skin and soften the look of fine lines.
- Blue Light: Targets and neutralizes acne-causing bacteria, giving you a clearer complexion.
- Amber Light: Calms inflammation and reduces redness for a beautifully even skin tone.
Using the BARB N.P. Facial Mask regularly doesn't just improve your skin's health—it makes your sunless tan apply more smoothly next time and helps your current glow look its absolute best.
The Final, Non-Negotiable Step: Sun Protection
Finally, let's be crystal clear about the most important rule of all. A sunless tan provides zero protection from UV rays. Your newly bronzed skin is just as vulnerable to sun damage, premature aging, and skin cancer as it was before.
Applying a broad-spectrum sunscreen with an SPF of 30 or higher every single day is non-negotiable. Look for high-quality, non-greasy formulas that won't feel heavy or mess with your tan. For more help, check out our complete guide on how to choose the right sunscreen for your skin.
This final step is what truly protects your skin's health and preserves that beautiful, safe glow you worked so hard to achieve.
Your Facial Tanning Questions Answered
Even my most careful clients run into questions when tanning their face for the first time. It's totally normal. Let's walk through the most common concerns I hear in the clinic so you can troubleshoot any issue and tan with total confidence.
How Do I Fix Streaks or Dark Patches on My Face
Seeing a streak or a dark spot can be frustrating, but it’s almost always fixable. If you catch a mistake right away, you can often buff it out.
Gently exfoliate the darker patch with a washcloth and a mild glycolic acid-based cleanser. For a more stubborn spot that has already developed, a dedicated tan remover or even a bit of lemon juice on a cotton ball can help break down the DHA.
The best fix, of course, is prevention. Always start with a clean, exfoliated canvas and use a light barrier cream on those extra-dry spots like around the nostrils and along your hairline.
Can I Use Sunless Tanner on Acne-Prone Skin
Absolutely, but product selection is everything. The key is to choose a formula that won’t clog pores. Lightweight, non-comedogenic options like serums or tanning drops are your best bet.
Always perform a patch test on a small, discreet area of skin 24 hours before doing a full application to ensure your skin is happy with the formula.
If you have any active breakouts, I recommend applying the tanner around them, not directly over them, to avoid irritation. You can also boost your routine with the BARB N.P. Facial Mask on its blue light setting to help manage acne, creating a clearer canvas for your next tan.
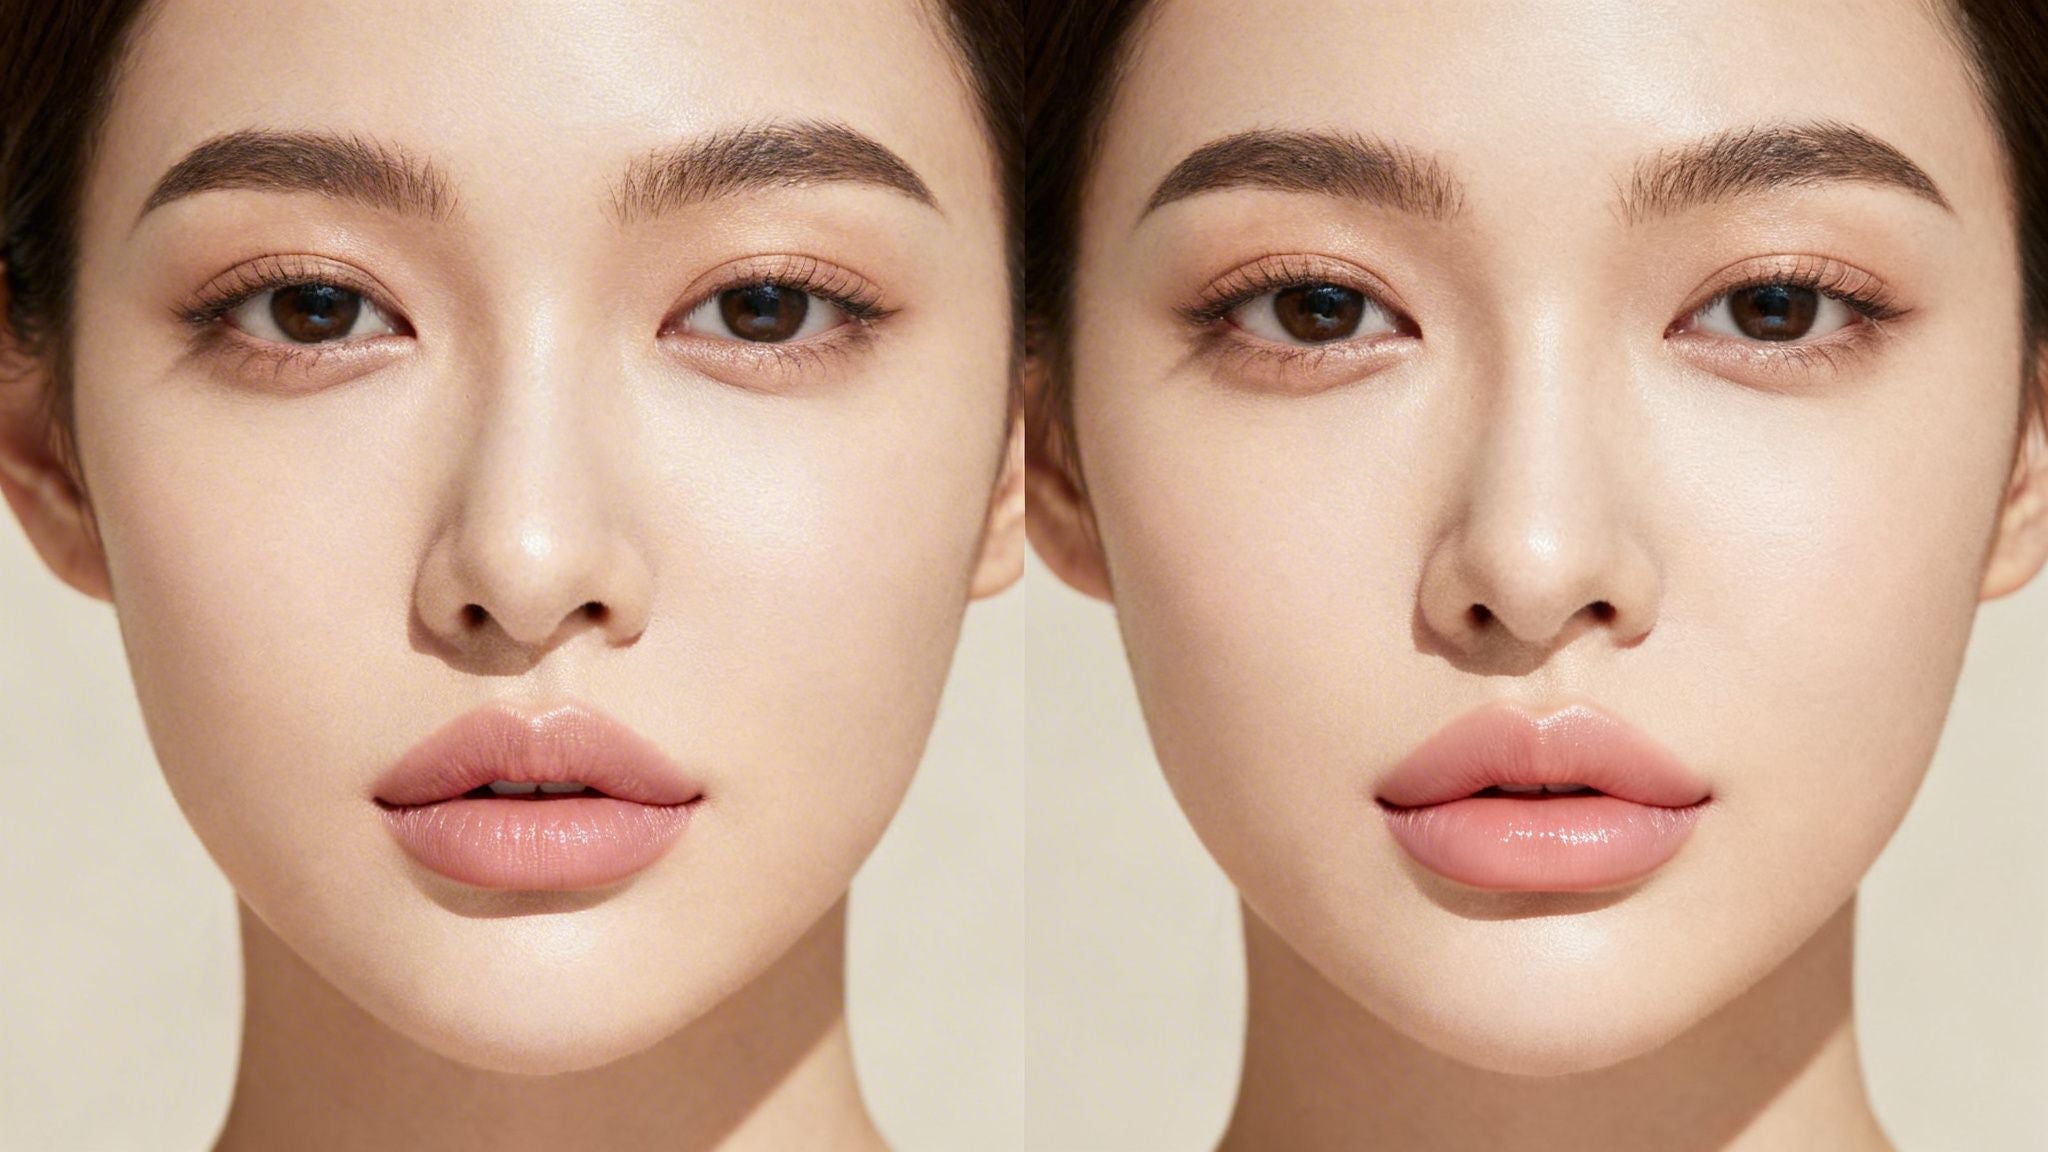
How Do I Match My Face Tan to My Body Tan
This is a classic challenge. The skin on your face naturally exfoliates much faster than the skin on your body, so your facial glow is always the first to fade. The secret to a seamless blend is applying tanner to your face more frequently, but in lighter doses.
This is where gradual tanning drops, like the BARB N.P. Self-Tanning Drops, are a game-changer. You can simply add a few drops to your nightly moisturizer every two or three days. It’s a low-effort strategy for maintaining consistent, natural-looking color that perfectly matches your body.
Many people are looking for sun-free ways to get a glow. For instance, some wonder, Does red light therapy tan you?—it doesn't. Safe, controlled methods like gradual tanning drops are the ideal way to build your desired color without UV exposure.
Ready to achieve a perfectly controlled, customizable facial tan? The BotoxBarb team recommends our signature Self-Tanning Drops for a flawless, streak-free glow.